
An RV awning is exactly what it sounds like. It’s an awning that hangs over the front of your RV to provide shade, protection from the rain, and extra storage space for outdoor items. When it comes time to replace your old or damaged awning with a new one you should know how to do so safely and correctly.
What Is An Awning?
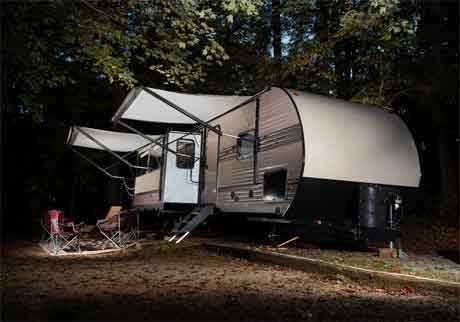
It’s an overhead cover that protects the interior of your RV or camper from the sun and rain. They’re often made out of canvas, vinyl or other type of durable material to withstand all types of weather.
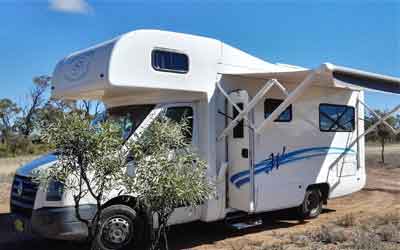
Awnings come in a variety of shapes and sizes, but they are usually mounted on one side near the front door or rear window. Awnings provide protection for you and your family as well as any expensive items inside your RV when it rains outside. Check out https://rvtipsandguides.wordpress.com/ website for more information on about how to replace an awning on an RV.
One thing to know about them is that with time they can become damaged due to wear and tear from the elements – especially if you’re not careful with protecting them. If this happens, you’ll need to replace it.
Here Are Some Steps On Replacing An RV Awning:
Step 01: First, detach the old awning from the RV. There are a row of screws on each side that hold the old awning to the RV. Loosen these with a screwdriver until you see the edge, then pull it off by hand. If some parts of the old awning won’t detach from your RV, you can try using a pry bar or an axe to cut through parts of the old awning that has been sewn or glued together.
Step 02: Start by measuring new awning and cut to size. It’s important to get the correct length and width for your new RV awning on the first cut. Make sure to measure twice and cut once. You don’t want to have the awning too short, or too long. When you cut out the old one, it might be a bit uneven. Use that part as a template for cutting out the new one so that both are identical in size.
Now, it’s time to sew. A good idea is to use “twill” thread and a heavy needle so that you can sew through both fabric layers at once.
Step 03: Using zip ties, install new awning to RV roof that’s wider than window or door on the side of RV. For example, if your RV awning is missing on the right side you want to lay down the new fabric with no grommets through your windows/door and attach it using zip ties to the roof of your RV.
When placing graphics make sure that they are not too far over so that when you stretch out the awning there isn’t too much tension. Next, place other side of awning fabric that has grommets through windows/door and attach zip ties to the roof as well.
Zip tie all seams on new awning canvas to make sure it is taut and secure. The seams will make it loose and allow for leaking in heavy rains.
Step 04: Make sure to seal the awning well. Use a high quality rubber roof sealant and apply two coats. This will keep water from getting underneath, which is what causes mold in your RV. Otherwise, you can expect to pay thousands of dollars for mold removal services.
Step 05: Finally, take your new awning to a professional for certification. If the awning is not certified by an RV awning certifier, it will not be covered under warranty if there are any problems with the material or workmanship.
Once you have installed your new RV Awning, be sure to inspect it periodically and make sure that all of the hardware is secure and tight. Fixing small tears with a repair kit is important, as that will keep leaks from occurring due to water damage. If you see any loose stitching or other types of defects you can fix them yourself by purchasing an RV awning repair kit.
Summary
It can be a daunting task to replace your RV’s damaged or missing awning. Whether you are replacing an old, worn out one with something new and shiny, or if the wind has blown it away and you need to find replacement parts for your specific make of trailer, there is a lot that goes into doing this right. Hopefully this article will prove to be useful to you in relation to the installation of your RV’s awning.